False color vs zebras vs histogram: which exposure tool to check first
Compare false color vs zebras before you record, and start the check with the histogram. The histogram covers the whole frame, false color shows where selected tones sit, and zebras mark areas above a threshold you set. In the app, the histogram reads linear RAW sensor levels, while false color and zebras follow display luma in the viewfinder. The app shows all three, and they differ mainly in how much of the frame each one covers.
Key takeaways
- Check the histogram first, because it covers the whole frame and shows both ends of the range at once.
- Use false color to place midtones and skin tones, and read the camera's own color legend before you trust a patch.
- Set the zebra threshold near the top of the range you want to protect, then watch the stripes as the light changes.
- A histogram counts pixels per brightness level, so it cannot tell you which object in the frame is too bright.
- A flat, gray picture on the screen is normal for log video, and the overlays are how you judge the exposure.
What each overlay actually shows
The tools read different signals: the histogram counts linear RAW sensor levels, while false color and zebras follow display luma in the viewfinder. They also differ in how much of the frame they cover and what they help you inspect.1,2
| Tool | What it shows | Coverage | Best used for |
|---|---|---|---|
| False color | A color mapped from display luma | Every pixel in the frame | Placing midtones and skin tones |
| Zebras | Stripes where display luma meets your threshold | Only the pixels that cross that threshold | Guarding the brightest areas |
| Histogram | A count of linear RAW sensor values | The full frame | Checking the overall exposure distribution |
False color maps display luma to color, so one glance shows where the midtones and highlights sit. It does not by itself prove that sensor data has clipped. Read the legend before you trust a color, because the scale differs between cameras and apps.1,3,4
Zebras mark only the areas above a limit you set. A low threshold puts stripes on more of the bright areas, and a high threshold leaves them on the brightest spots alone.1,3
The histogram counts linear RAW sensor values across the whole frame. A pile-up near either end is a reason to inspect the exposure, not proof by itself that detail has clipped or the scene exceeded the usable range.3,5
Which exposure overlay to check first
The order matters because each tool answers a question the others cannot. The histogram reports the whole frame, false color reports where a tone sits, and zebras report what crosses a limit.2,4
A repeatable exposure check before you record
- 1.
Frame the shot and pick the profile
Frame the shot on the screen, then pick the log profile you will record with.
- 2.
Read the histogram at both ends
Check for values clustered near either end of the histogram. Treat that as a cue to inspect the relevant areas with false color or zebras and consider the scene; the histogram alone cannot show whether important detail has clipped.5
- 3.
- 4.
- 5.
Fix the exposure and record
Set the ISO and shutter, then record the clip with the overlays still on.
Log Cam: RAW 4K Video Camera puts the histogram, zebras, and false color in the viewfinder.
The flat picture on the screen is not an exposure reading
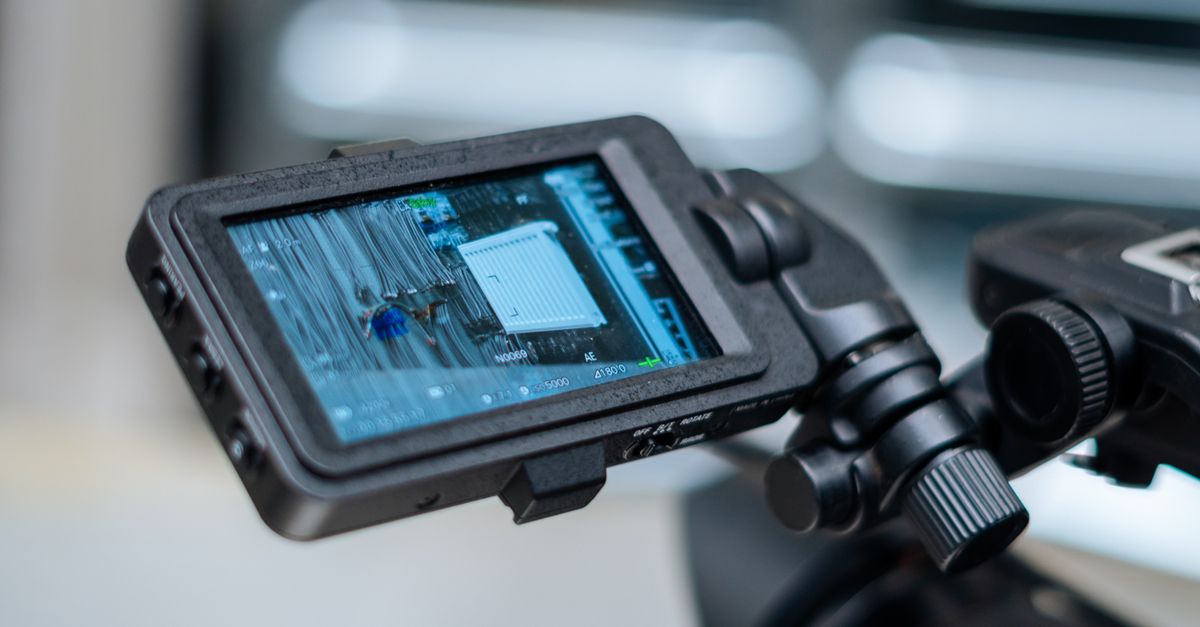
A log picture looks flat on the screen because of the curve itself, and the flatness does not mean the exposure is wrong.5
The picture on the screen and the range inside the clip are two different things, so judge exposure with the histogram and the other overlays, not by how flat the picture looks.2,5
Limits of the three exposure overlays
Zebras show that a pixel crosses your threshold, and they do not show how far past it the pixel sits. Treat the stripes as a warning.1,3
Three habits that make the overlays useful
On the next clip, start with the histogram and confirm the face with false color. Zebras cover the brightest area while the shot runs. Set the ISO and shutter before you record, and the routine costs a few seconds.
Frequently asked questions
- Can the histogram show me which part of the frame is clipped?
- No. A histogram counts linear RAW sensor values across the frame, but it does not show where those pixels are or whether important detail has clipped. A spike near an endpoint is a cue to inspect the scene; use display-luma zebras or false color to locate areas in the viewfinder. 3,5
Sources
- 1.RED Digital Cinema, “Exposure with RED Cameras: False Color & Zebra Tools,” reddigitalcinema.com
- 2.PremiumBeat, “From Zebra Lines to False Color: 4 Ways to Monitor Exposure on Set,” premiumbeat.com
- 3.Canon, “Videography FAQ: False Colours, Waveform, and Zebras,” snapshot.asia.canon
- 4.DualView, “Complete Guide to Exposure Tools: False Color, Zebras, Zone System,” dualview.ai
- 5.B&H Photo Video, “Mastering In-Camera Exposure Tools for Video,” bhphotovideo.com
- 6.Videomaker, “Shot assist tools to help you get the perfect shot,” videomaker.com